When there are several different types of ice outside and you’re saving up for spring Gianvito Rossi sandals, weekly visits to the nail salon are a chore. To find out how to give yourself a salon-worthy manicure that won’t chip quickly, the Cut spoke to fashion’s favorite manicurist and salon owner Jin Soon Choi. She breaks down the basic steps in the GIFs below.
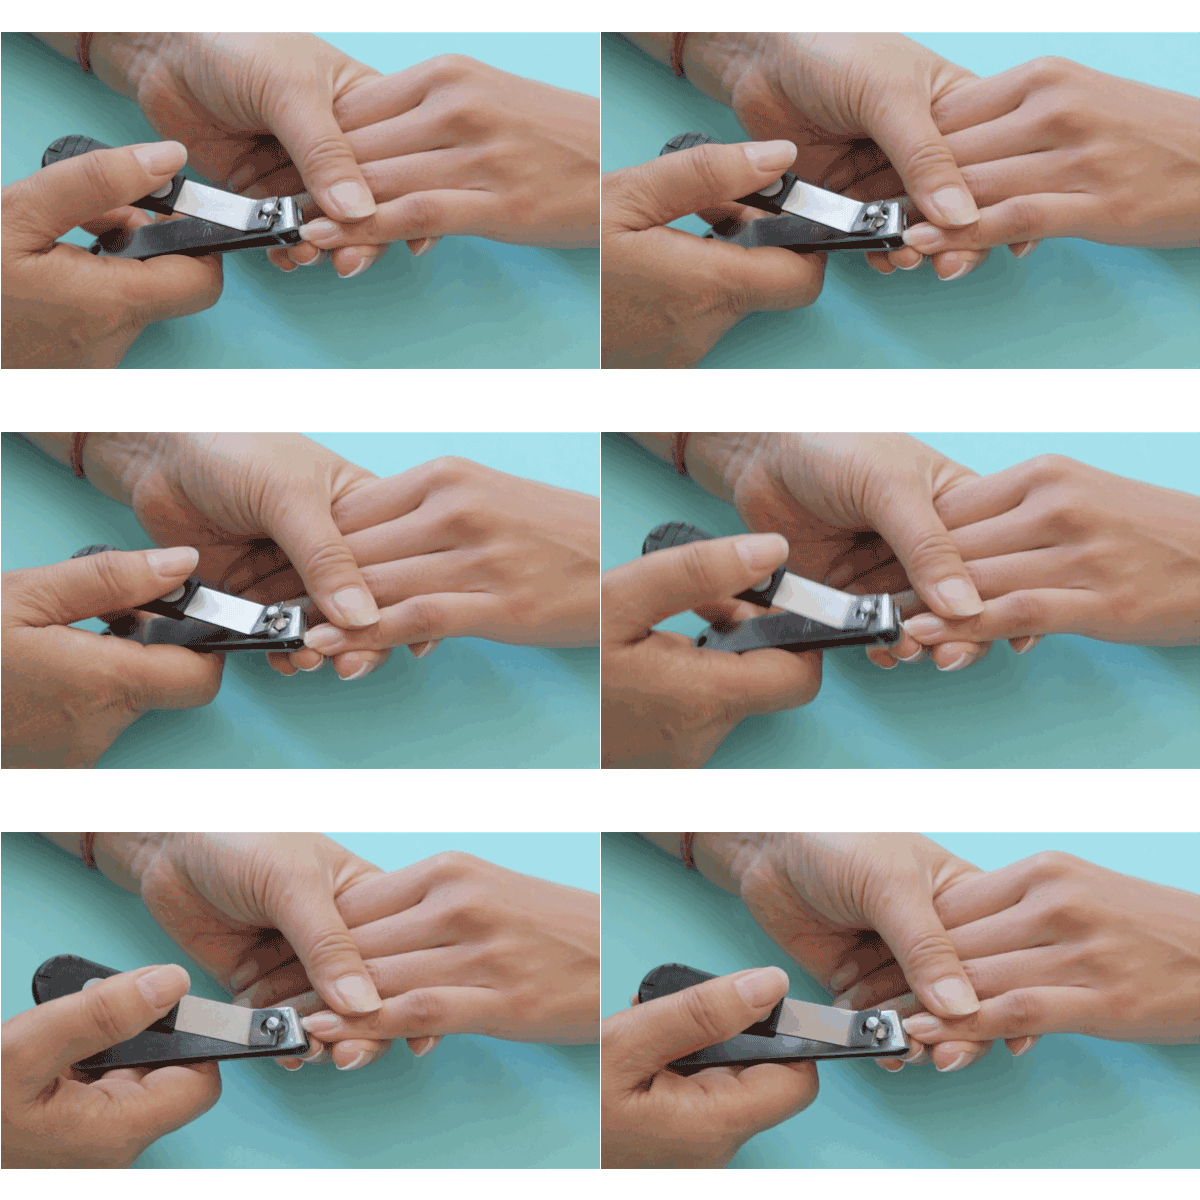
Step 1: Remove all the existing polish from your hands. Clip your nails in preparation for the desired nail shape. If your response is “Uh, I don’t know,” then go with the natural shape of your cuticle (the ridgy part where your skin meets your nail). Everyone’s cuticles, like snowflakes, are shaped differently. If your cuticles are round, go with a round nail shape. Slightly oval is generally flattering on most nails, making nails beds appear longer, and for that, Choi suggests cutting your nail once from the right and left edges of each nail.
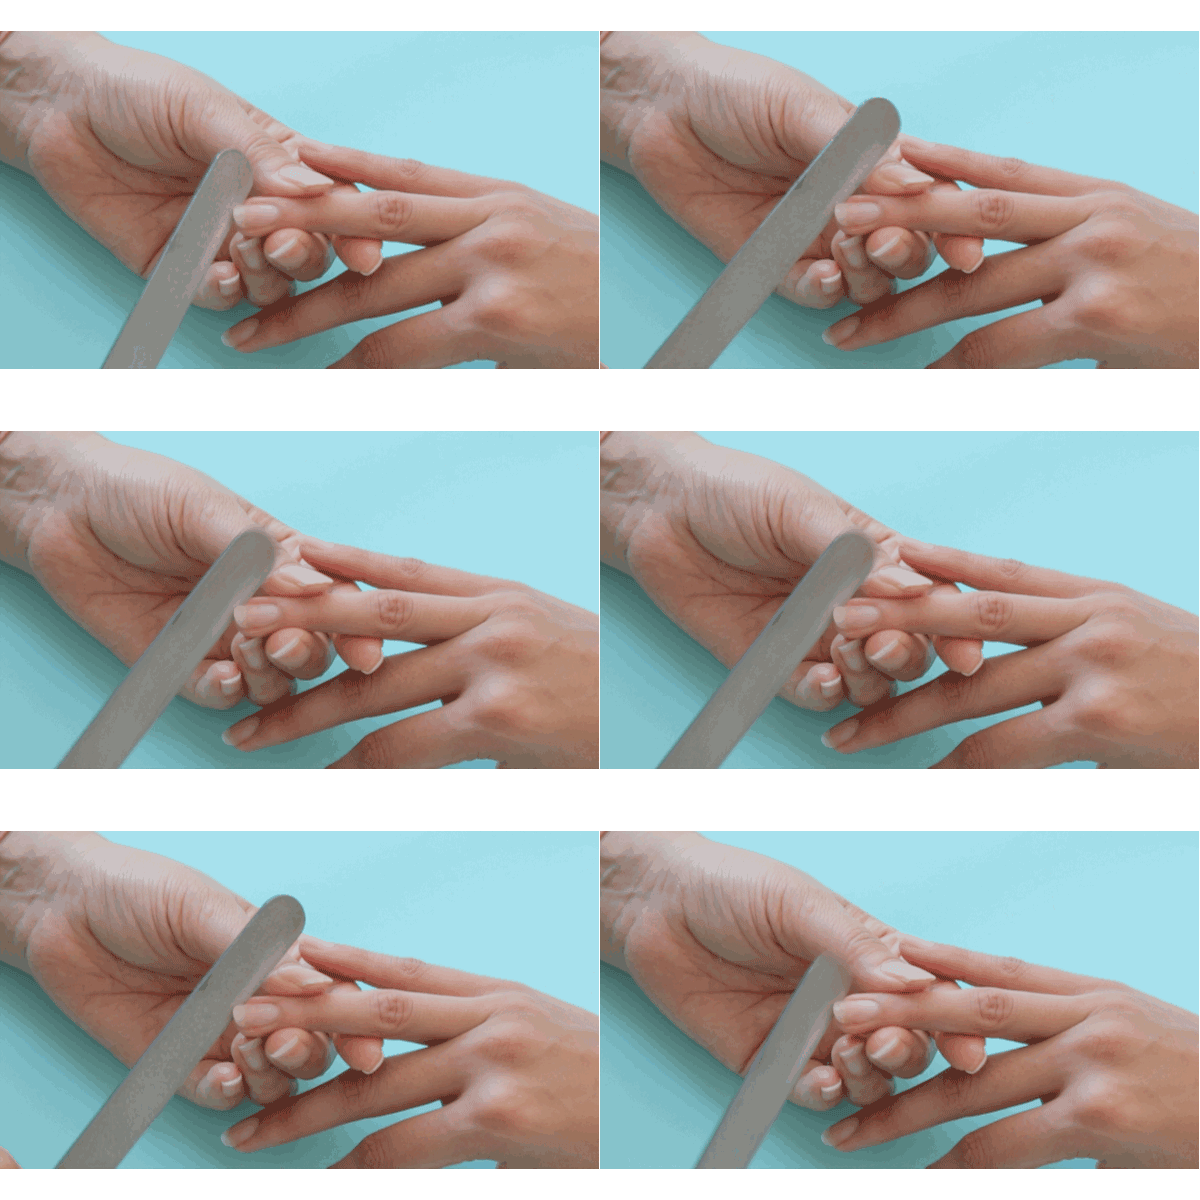
Step 2: Cutting your nails this way makes it easier to file them into an oval shape, with the point being the tallest part of the oval. When you file, file from side to side, rather than in an up-and-down sawing motion. Also, file at a slight angle so you don’t grate on the skin underneath the nail.
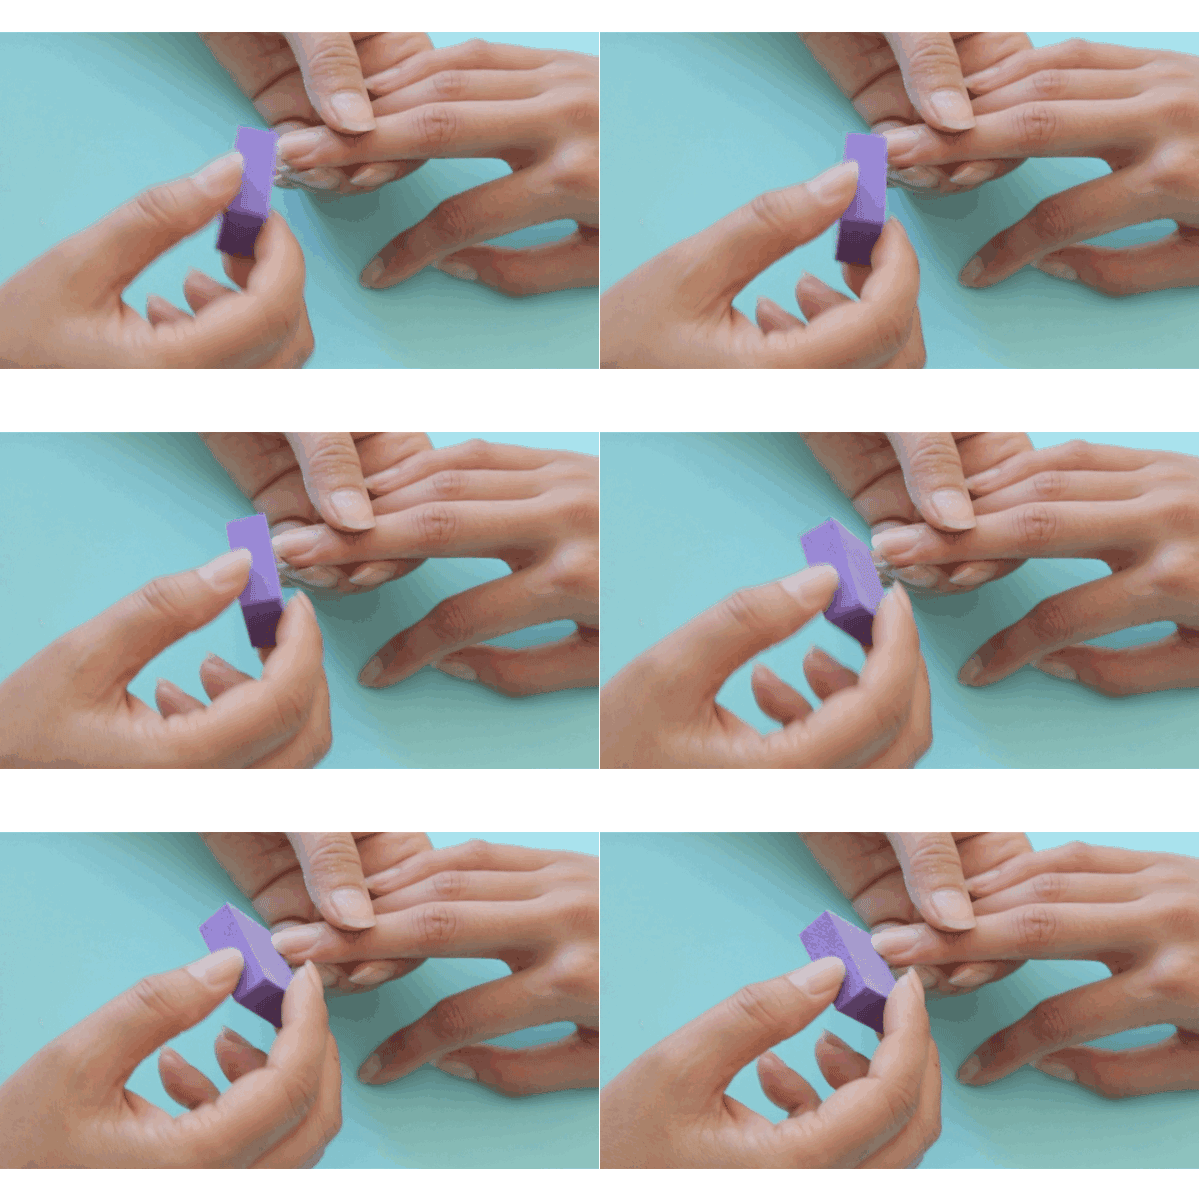
Step 3: I’ve found this step to be slightly extraneous, but you can also use a nail buffer to further smooth down the tips so that your nails don’t tear your Wolford stockings. You can also use a nail buffer on the top of your nails, to make them look extra shiny.
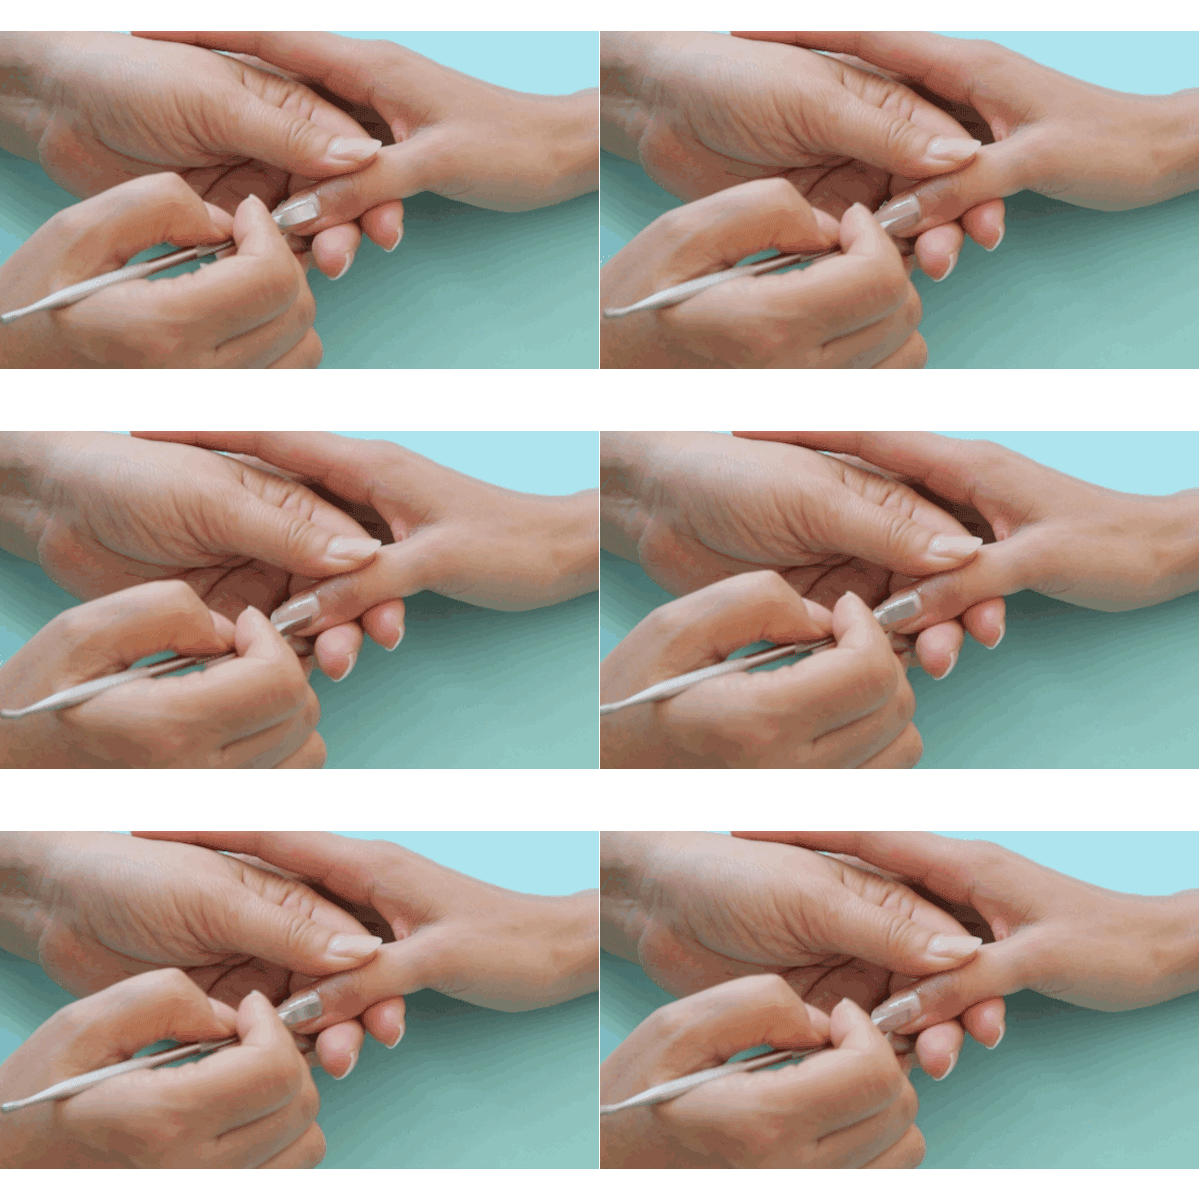
Step 4: Apply cuticle oil to your cuticles and let them soften for a few minutes. Soak your nails if you feel extra inclined. Then take a cuticle pusher and push back your now-softened cuticles until they appear as a thin line on your nail. Do not cut them. Cutting too much of your cuticles makes them a bloody mess, and cuticles actually serve to prevent bacteria and fungi from entering your nails.
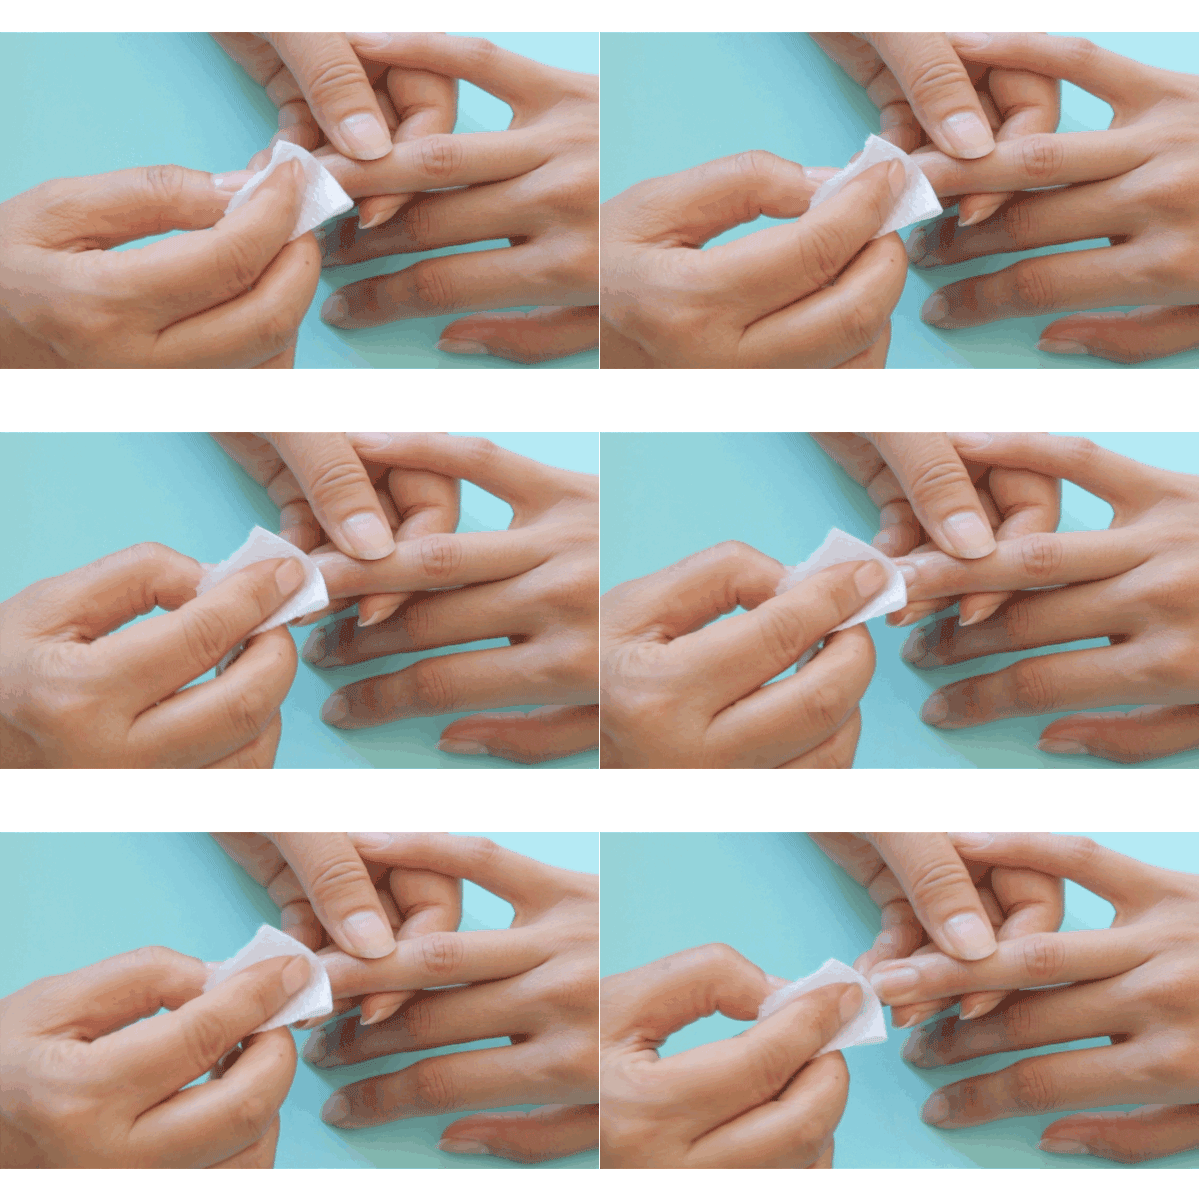
Step 5: Steps 1 through 4 have been for the aesthetic purposes of your manicure. These next few steps are to make sure your manicure doesn’t immediately chip. Start first by wiping your nail one final time. You want to remove all of the grease from the cuticle oil and your nails’ natural oils. If your nail is too wet or too oily, the polish will not properly adhere and will chip.
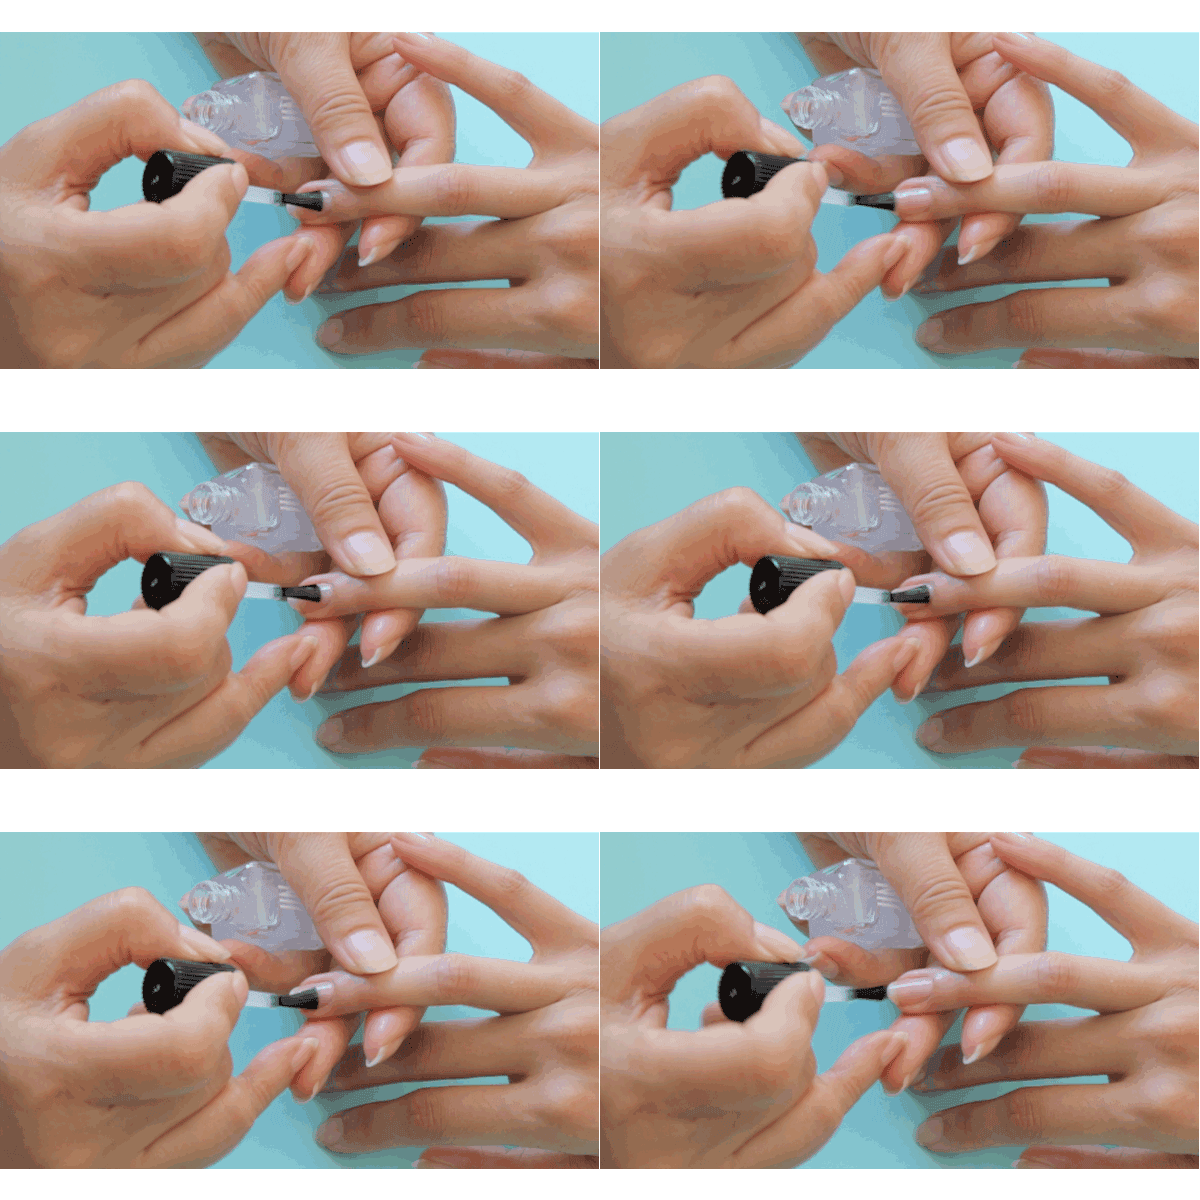
Step 6: Apply a base coat. You need this to prevent polish from having direct nail contact and staining your nails. Some, like Eva Chen, even apply a bonder base coat.
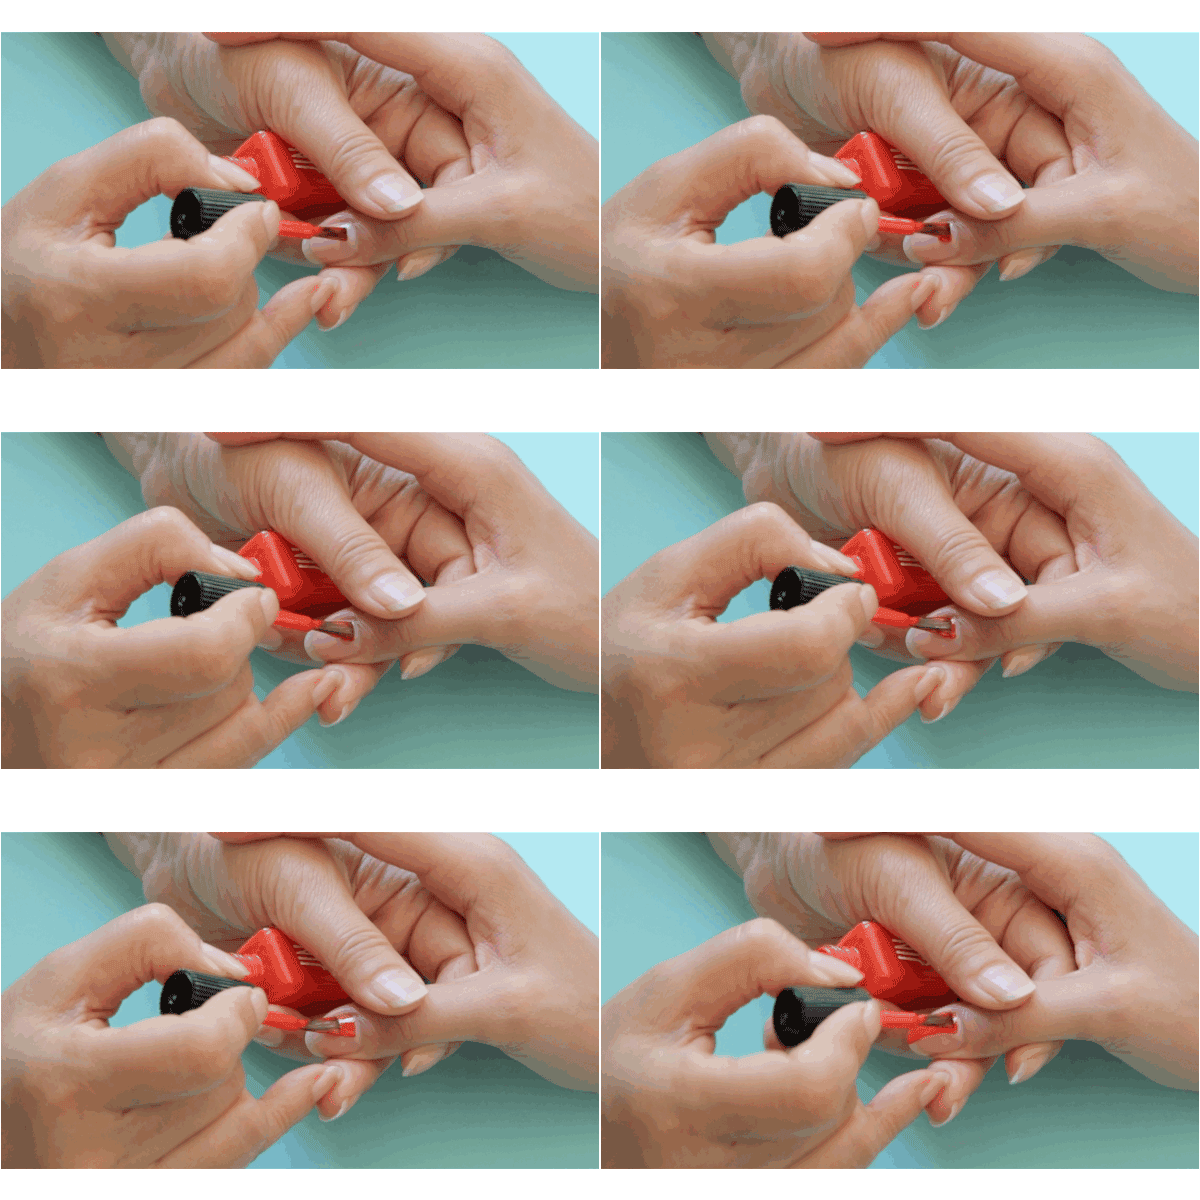
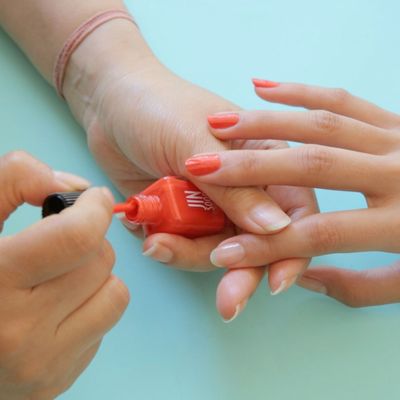
Step 7: Paint your nails. In this case, Choi is using JINsoon Pop Orange. The easiest way to paint your nails is to make sure your first stroke starts from the edge. Utilize the natural shape of the brush to make sure it is as wide as possible.
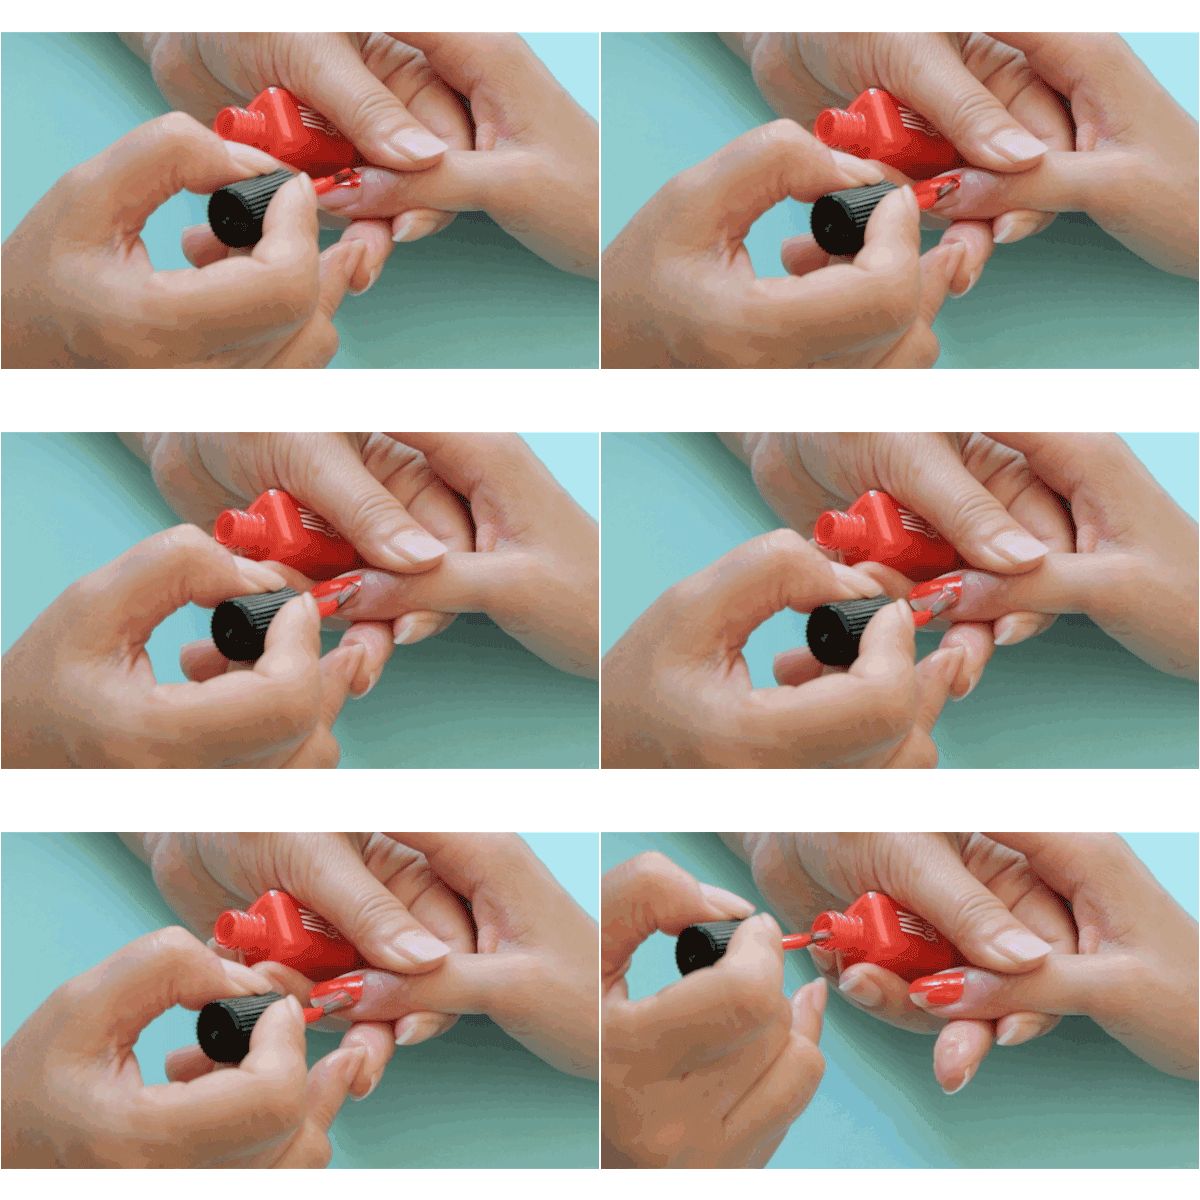
Step 8: Let your second stripe overlap with the first to cover the rest of the nail. Wait about two minutes until your second coat.
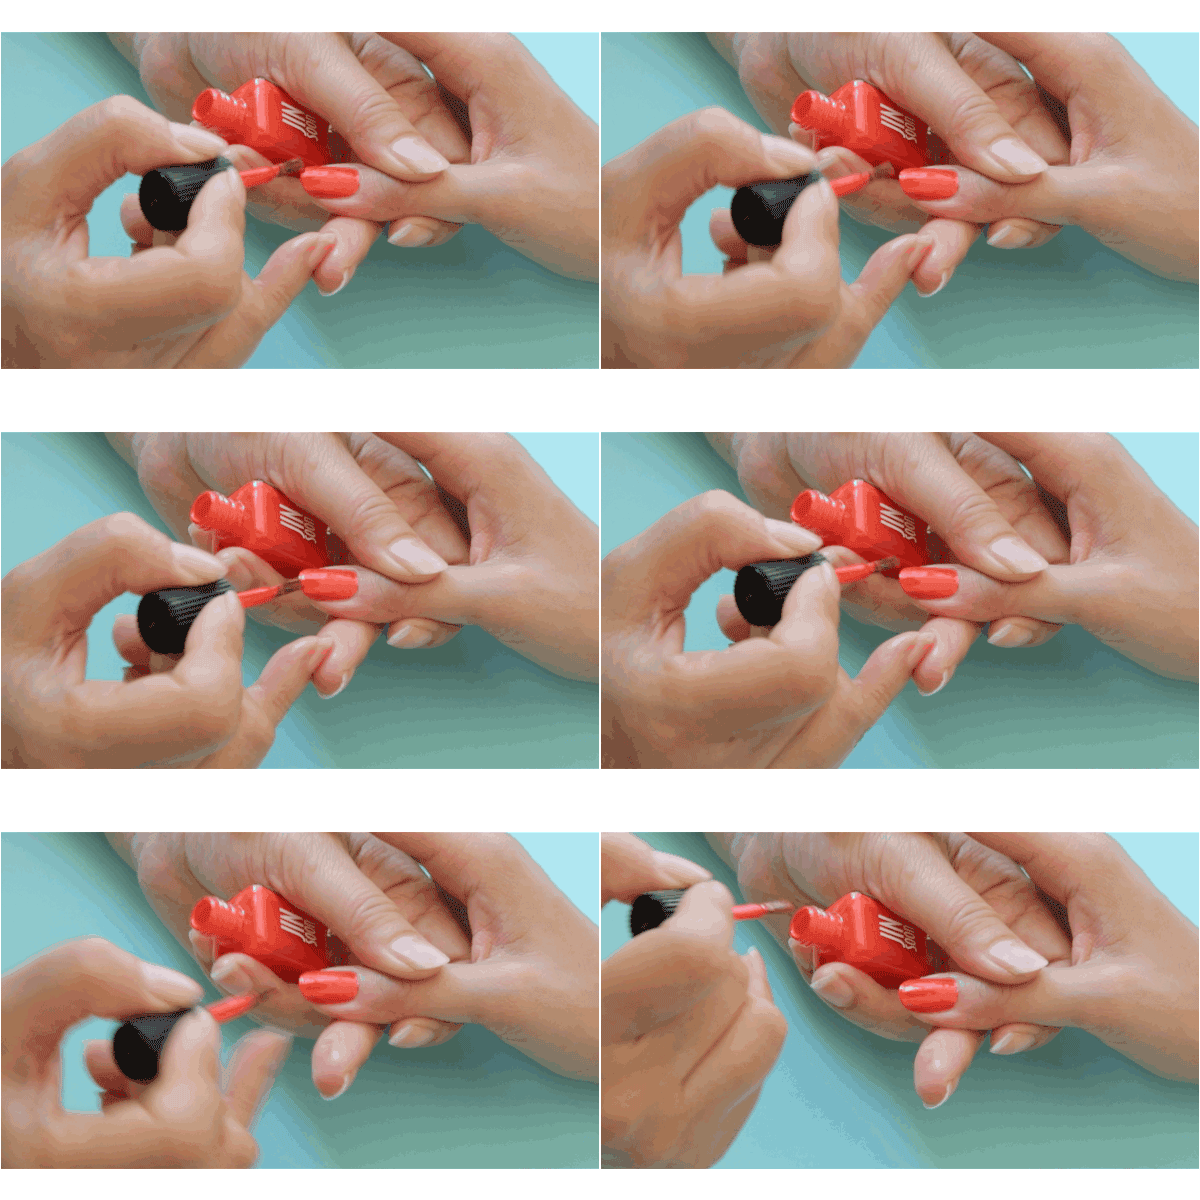
Step 9: Don’t forget to also paint the free edge, the top portion of the nail, and then finish with a top coat like JINsoon Top Gloss. Your top coat acts as a sealer, sealing all the other polish layers below. And there, in nine steps, you have a finished manicure.


